

| Level 17: The Valley Tower Ascent |
| Objective: Activate the internal cargo conveying system. It should help you reach the outer perimeter of the valley. Exhaust from imperial mining operations is discharged from several openings in the mountain. Find a vent near the main exhaust port. Suspend the air flow from the main exhaust port long enough to break into the exhaust monitoring station. Find a way into the maintenance room high above the exhaust monitoring station. There an elevator will take you to the main superstructure. |
| Reward: One star is awarded towards force powers on this level. You can assign up to four of your force stars towards force powers "speed", "jump", "pull", "seeing", and your four light or dark force powers. |
| Level of Difficulty: This is long. Very long to finish for me. Too many wind tunnels for my liking, and hence a lot of areas with precarious footing. |
| Note: The following walkthrough is a straight path to finish the level. There are parts of the level that are not explored by following this walkthrough. |
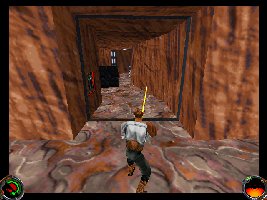 |
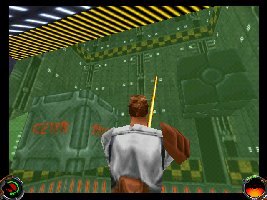
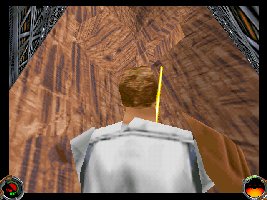
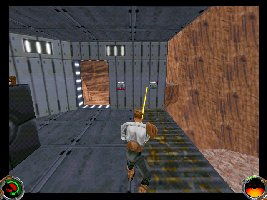
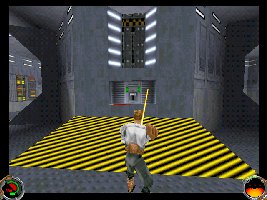
1) You begin on an elevator going up. Stay put. When you arrive at the top, follow the ramp to your left up and into a room. In the room is the switch that opens the door down at the base of the ramp. Activate the switch, and run down the ramp and through the door before it closes. Move down the hallway and past the large walker. Call the lift, and take it up to the ledge above you. |
||
 |
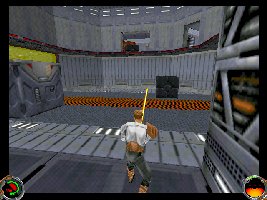
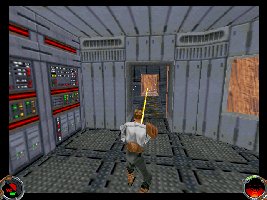
2) On the ledge you will find a door and a switch. Activate the switch to open the door and enter. In front of you is a room with a number of paths you can take. The first ramp on your left leads up to an area with a switch to turn off the red force field to your right. The second ramp on your left leads down to an area where some troops are guarding a grill. The pipe in front of you with the cross in it leads to a dead end wind tunnel. To your right is a lift protected with a force field. Take the first first ramp on your left up to deactivate the force field and come back down and call the lift. |
||
 |
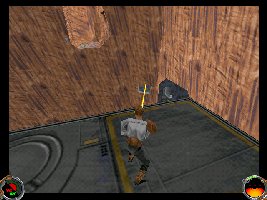
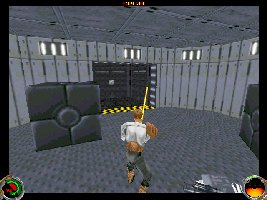
3) Take the elevator down one level. Run across the cross and take a left to move in front of the grill in the wall. Use your sabre on the grill, and the grill behind it. Move forward to enter into a room with yellow light. |
||
 |
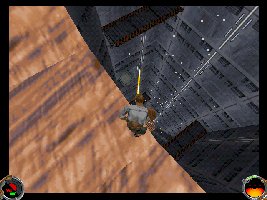
4) Move forward into the shaft and fall down. You will descend at a slower rate. Turn 180 degrees so you are facing back where the grills would be where you came through and drop onto the ledge you see below you. On the ledge is a switch. Activate it. Mission Objective Complete |
||
 |
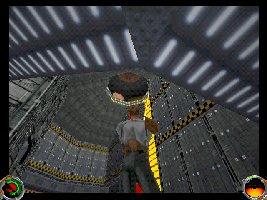
5) Turn around and you will see cargo boxes rising from below you. Jump onto and ride a cargo box back to the ledge you came from above. Go back through the grates and ride the elevator up two stops. |
||
 |
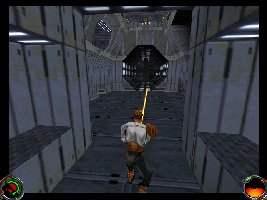
6) You will arrive on a level with conveyer belts on the floor and cargo containers travelling from left to right. Run across the conveyer belts and jump to the ledge above. Go in the doorway on the left and destroy the fuel tanks in front of you. Run into the passage that was hidden by the fuel tanks and grab the goodies. Come back out to the conveyer belt and jump onto one of the cargo containers. Ride the cargo container off the ramp and into the next vertical tunnel. |
||
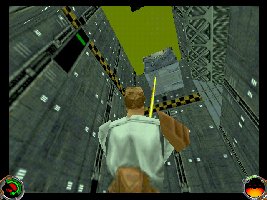 |
7) Ride the cargo container almost top. Above you, you will see a solid lime green color and a ledge. Jump onto the top ledge and grab the railgun and goodies. |
||
 |
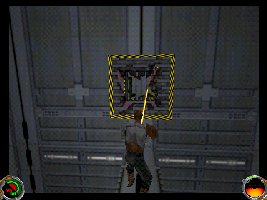
8) Drop down in between the crates to the bottom of the shaft. Jump onto a crate and try and jump into the tunnel entrance on the side of the shaft. |
||
 |
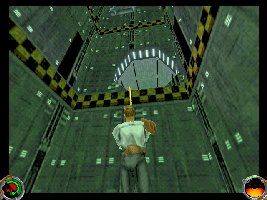
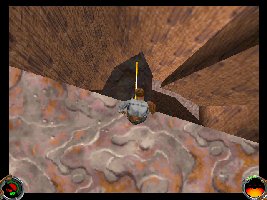
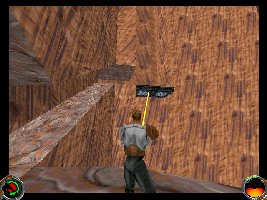
9) Jump into the air tunnel and avoid the ledges on the side so you are blown to the top of the tunnel. Move forward and out the air tunnel onto the ledge just below the top exit of the air tunnel. |
||
 |
10) Drop down the ledges until you can access the large lift within the same canyon wall as the wind tunnel exit you left. Activate the lift and travel up. |
||
 |
11) Move forward and take the small elevator down that you find in a room to your left. You will arrive in a room with an exit that leads to a walkway that crosses the mouth of a wind tunnel. When the tunnel isn't blowing, activate force power "run" and run into the tunnel mouth to the back of the horizontal tunnel. Grab the items you find and when the tunnel stops blowing again, travel back to the walkway. Jump onto the other side of the walkway and travel up the stone ramps. |
||
 |
12) Move forward up the ramp throw the switch you find. If you look up, you will see a platform moving across the screen. Run back the way you came, across the walkway and up the elevator. Go through the door, and on your right you will see the platform you moved. Get on the platform and activate the switch found on the outside canyon wall to move the platform across the canyon. |
||
 |
13) Run forward and run around until you find the room on your left with a number of gas tanks. Destroy the tanks and gather the items found underneath. Exit the room and walk to the edge of the canyon. Drop onto the ledge you find below. |
||
 |
14) Move forward through the room and take the elevator you find up. You will arrive on a rock ledge, with a ramp leading upwards. Follow the stone ramp up, and get on the platform elevator. Activate the elevator to head up. |
||
 |
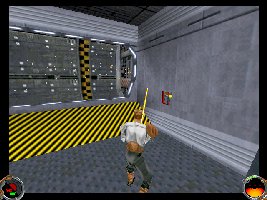
15) Run past the ramp and around the corner, down a high passage way. Run past the exhaust port and down another high passage way. At the end of this passage way you will find a lift. Take the lift up to the upper level. |
||
 |
16) Run around the corner to the wind tunnel. You want to drop into the tunnel and fall into the passage way you see on your lower left. |
||
 |
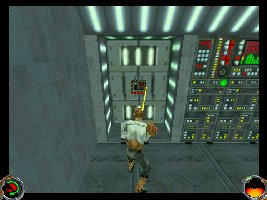
17) Follow the passage to a door. Open the door and run down the passage way on your left. Follow the ramps under the pipes and emerge on the other side. Throw the switch you find and head back under the pipes to where you were. Activate the switch in the room and run into the pipes where the doors have been closed temporarily. Fall into the cylindrical depression in the floor and look straight down using activate to open the doors below you. Fall through to the room below. Mission Objective Completed |
||
 |
18) Throw the switch you find in front of you. Take either hallway and take the elevator you find at the end, up to the next level. Follow the hallway you find up there until you find a ramp leading to a set of double doors. Open the doors. |
||
 |
19) Follow the hallways to a large air tunnel and a ledge. Follow the ledge to the mid point where there is a room and a switch. Activate the switch. Mission Objective Completed. |
||
 |
20) Drop off the ledge and into the bottom of the large air tunnel and rise up. When you go through the hole in the roof, push to a side and you will find the pipe bulges to a larger diameter in the middle. Run into the two tunnels you find and grab all the goodies. Then jump back into the air flow and ride the tunnel to the top and into the monitoring station. Slash the grate you find and move forward and into the elevator. Mission Objective Completed |