

| Level 19: The Valley of the Jedi |
| Objective: Make your way to the excavation below the imperial super structure. Manipulate the ancient doors to open a passage to the imperial troops guarding the valley core. Find an alternate passage to the Valley of the Jedi entrance. Fight your way through the blast doors to the Valley of the Jedi burial chamber. |
| Reward: One star is awarded towards force powers on this level. You have received all available force stars. Assign up to four of your force stars towards force powers "speed", "jump", "pull", "seeing", and your four light or dark force powers. |
| Level of Difficulty: I admit I got stuck on this one for a little while. The door/counterweight solution took me a little while to notice. After that, smooth sailing to the final two battles. |
| Note: The following walkthrough is a straight path to finish the level. There are parts of the level that are not explored by following this walkthrough. |
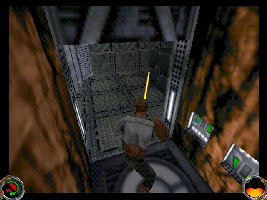 |
1) Leave the air shaft, and head up a ramp then through a door on right. Take the ramp you see to your right down and follow the hallway. You will go down another ramp and then take an elevator down. At the first stop, get off and jump onto the cargo box. Jump from the cargo box onto the ledge above and then drop down. Proceed to elevator and take it down one more stop. |
||
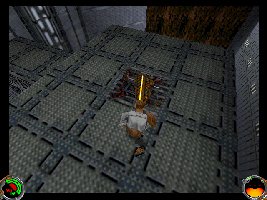 |
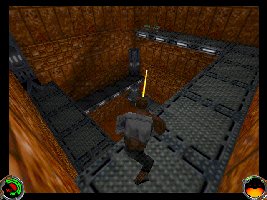
2) In the room, you will find a large box. Force jump to the top of the box and follow the only walkway up and over the window sill. Grab the items on the ledge just outside the window, and then look up to your high right. There is a rocky ledge you can jump to and gather some other items. Head back to the top of the box, and if you look over towards where the elevator is you will see a window with items on the window sill. You can get the items by jumping across, or going outside and jumping to ledge from out there. Once you have gathered all the items, return to the top of the box and cut the grate with sabre. Drop through. |
||
 |
3) Take the elevator down until you find yourself on bottom and then hit switch to send it back up. Jump off the elevator and grab the goodies underneath. Take the next elevator down and follow out to rocky area. Mission Objective Completed. |
||
 |
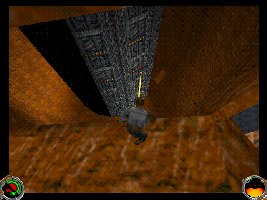
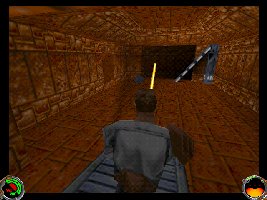
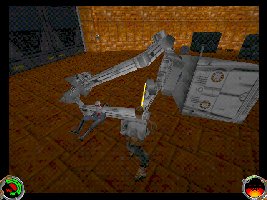
4) Follow the path clockwise around the drill until you get to the bottom and see the drill bit. Drop down the hole you see in the floor. Follow the rooms in a clockwise direction again until it brings you too a room with a dead end on the right. The dead end is a breakable wall. Shoot the wall and grab the goodies. Turn 180 degrees and head into the room with steel supports. Keep moving forward and down an inclined tunnel. |
||
 |
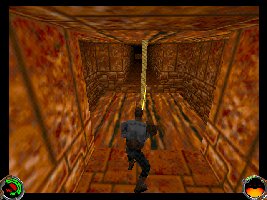
5) At the bottom of the inclined tunnel is a room with a low steel ramp. Near the ramp on the left is a shootable wall. Shoot it and grab the goodies inside. Walk up the ramp and into the next room. You will move into a tunnel that has two exits. |
||
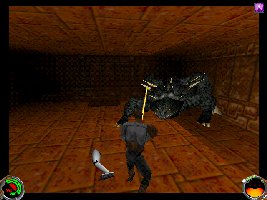 |
6) Both exits lead to the same room. In the room you will find two kell dragons. You will fight each, one at a time. Best tactics are to drop a few thermal detonators at them to soften them up and then go charging with sabre in hand. The second dragon will stay near the hole and not follow you so you can easily withdraw from it. |
||
 |
7) Drop into the opening in the floor that the dragon was guarding. Try to fall into the tunnel that begins in the middle of the shaft and follow this tunnel through it's narrow corridors. You will have to travel up inclines of about 60 degrees twice until you emerge in a room with a bunch of ledges spiraling around on the walls. |
||
 |
8) Take the hallway at the bottom of the ledges into a room with a ramp and support. Slide down the available shaft. Mission Objective Completed. |
||
 |
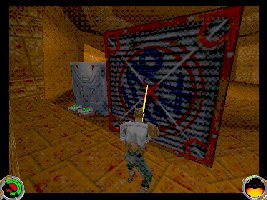
9) Open the stone door you find in front of you with the switch with four hands. Each push opens the door one quarter and a fifth push closes the door. You want the first door to be completely open. If you look through the slits in the walls on the left, you will see the counterweights for the doors moving. Move forward to the second stone door and push the button five times so that the door will close. Run through the door before it closes behind you. NOTE: Twice I have been told by people they couldn't find the button for the second door. This is not a problem with the level itself, but seems to be a bug in the program. If this happens to you, go to console and type hyper 8 . This will move you to a respawn point beyond the counter weights. You can back track to the area you came from. |
||
 |
10) You will emerge in a room with what should be an opening, but the opening has crates blocking it and you can't get through. Instead you must find an alternate route. Run up the available passage. Continue on, and you will find yourself running across a counterweight complete with rope you could cut. But why make your life more difficult? After passing the first counter weight, you will find a breakable wall on your left with some goodies inside. Grab them and continue on, passing over a second counterweight. |
||
 |
11) After passing the second counterweight you will drop into an area behind some crates. Mission Objective Completed. |
||
 |
12) You must travel beyond the crates and take a left to a large door. An At-St is on the other side. Use either your railgun, concussion rifle, or sabre to defeat the walker. The commando inside has the red key. Use the key to open the blast doors. Mission Objective Completed. |